From my last post I perfected the shape and fit of the bodice and now I am ready to cut it out for real and start building the bodice.
I decided that I would add some padding to the strapless bodice so that the bust area doesn't end up looking to flat as it sometimes can in a strapless bodice. So this is where I started.....
1. Cut out a pattern from the orignal bodice pattern for the bra cups. I approximated the length I wanted the cups to be by measuring on myself from the top of the cup to under my bust. Remember do the measurement with the bra you are intending to wear with the bodice or with no bra at all as in my case. Do not add any seam allowances as you will not be needing any - all will become clear later.

2. I used cotton batting for the padding which I bought from JoAnns. Its a lightweight material which is easy to work with. Here is a picture so you know what your looking for.

Cut out the pattern pieces out of the cotton batting and you have the basis of the bra - remember no seam seam allowances.

3. Now to sew it together. To make a smooth cup I am not going to use a traditional seam. The pieces are actually butted up together and sewn using a zig zag stitch. For this you will need some twill tape or stay tape. Both work fine but for this case I used stay tape. Here is a picture so you know what I mean.
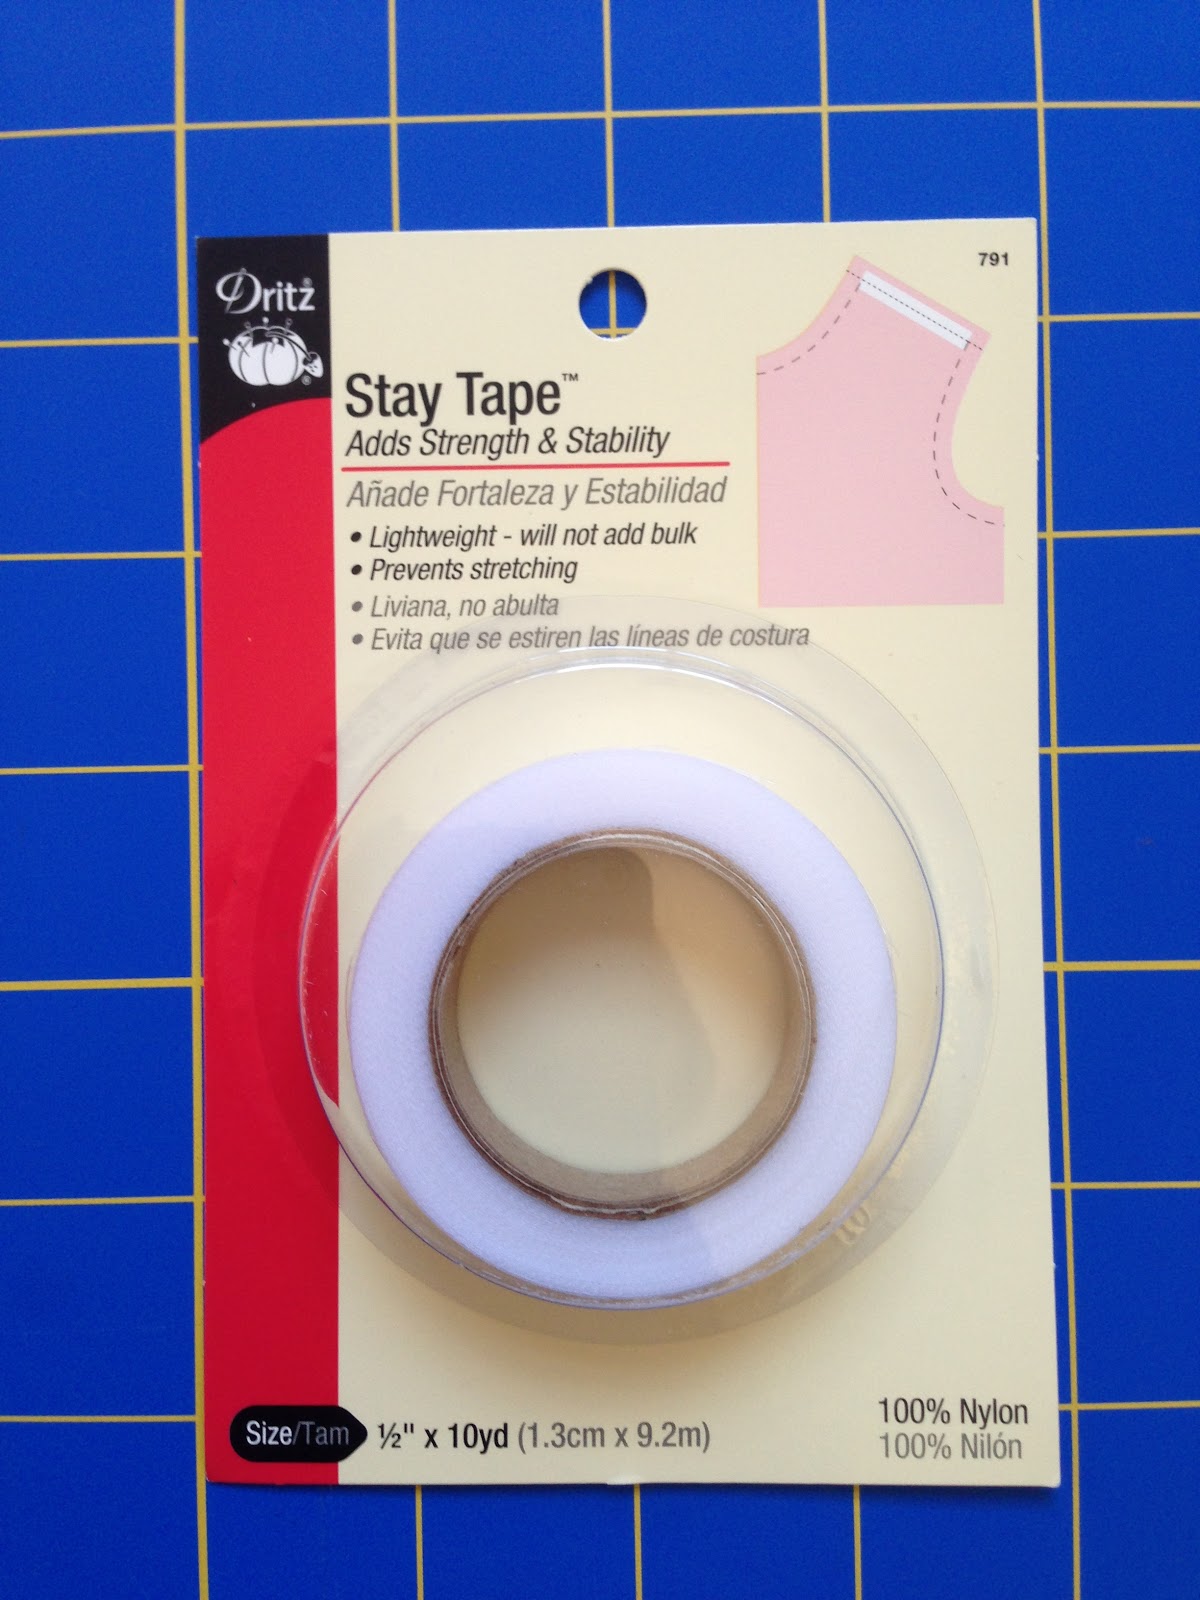
So what you need to do it cut a pieces of stay tape slightly longer than the length of the seam and pin to one side of the seam. Then pin to the stay tape to other side of the seam so the semas join in the middle.

Sew down the center of the seam making sure you catch both edges and you will have something that looks like this.
 |
| Wrong side with the stay tape visible |
 |
| Right side of the cup where you can see the zig zag stitch |
4. Use this method for all the seams and you will end up with super smooth bra cups.

5. Now this part is optional depending on whether you feel more comfortable with or without padding in the bra. If your planning on wearing a strapless bra with the dress then this won't be necessary however, if you are not then it is worth doing to add some shape to the bust area. I looked at the shape of the padding in the bras I like most to decide on where to put the padding and I came up with a rough shape. I used pins to mark out the shape on the cup.

5. Pin a piece of cotton batting to the cup keeping the shape with the pins. Then carefully cut around the shape to make a flat base for the padding.


6. Simply cut out smaller and smaller shapes from the original and pin together to form the padding. Do this for both sides so you don't look lopsided!

Then sew the around the edge of the smallest piece to hold all the bits together.

6. Next step is to fray the edges of the batting so it gives a smooth finish to the cup. Do this by gently tugging out the edges with your nail. In the picture you can see where I started to do this on the larger layers and where I haven't done any smoothing. I hope this makes sense!

 |
| Finished padding with all edges smoothed into each other |
7. Sew this padding into the bra cups making sure you have both sides as symmetrical as possible. I used a zig zag stitch to to this. And voila there you have a padded bra of sorts to stick into your bodice.

8. Final step is to sew the padded bra cups into the under construction layer. I made this layer from muslin as it has some good body and is easy to sew. Again I used a zig zag stitch. Make sure all the seams line up and that you leave a 1/2 seam allowance at the top of the muslin.


Next stop boning! Stay tuned to see how I decide to do this... Feel free to comment and ask questions.
Happy sewing!


