Onwards to the neckline! This is quick and easy tutorial on how to finish a neckline on a jersey fabric for the dolman dress.
To make the pattern for the dolman dress go to:
Tutorial 1: Pattern for a Super Easy and Comfy Lone Sleeved Dolman Dress
For cutting and sewing instructions got to:
Tutorial 2: Cutting Some Shapes and Sewing them Together for the Dolman Dress
I always find necklines challenging and difficult to get neat and tidy especially on jersey and stretch fabric. After a lot of trial and error in the past this is the method I came up with for finishing necklines using bias tape. This is my go to method for necklines for most things I make so here it is!
MATERIALS NEEDED:
- Bodice of dolman dress
- Matching fabric for the the bias tape
- Iron
- Ironing board
- Pins
- Sewing machine
- Matching thread
- Measuring tape
- Clear sewing ruler
- Rotary cutter or scissors
- Cutting mat
1. First things first - lets measure how much bias tape we need for the neckline. Using a flexible measuring tape measure around the opening of the neckline both front and back. The bias tape will be the same length as the neckline. Add 6/8" to the measurement for seam allowance when you sew the bias ends together.
2. To make the bias tape lay out a piece of the jersey fabric and line up your clear ruler so it runs at a 45 degree angle to the grainline. This is called the bias of the fabric - it has the most stretch so is perfect for the neckline finish. Hopefully the picture below explains how to cut on the bias better than in words!
3. Once you have found the bias cut along this line using your rotary cutter or scissors. The width I use for bias tape is 1.5", I would say this is minimum you would want for jersey fabric as it can be tricky with the stretch. The wider it is the easier it is to sew but it just depends how you want the neckline to look as you will see a line of stitching on the front of the garment. With the bias tape at 1.5" the line of stitching will be 1/2" from the edge of the neckline.
4. To the ironing board! Take your freshly cut bias tape and ready your iron. You will need a measuring tape at this point. Fold over 3/8" of the bias tape and iron along the fold all the way along. The wrong side of the fabric is showing in the picture below. This can be tricky as its a small amount but once you get started it gets easier.
5. Sew the two ends of the bias tape together so it makes a circle making sure you do right side to right side using a 3/8" seam allowance. Then trim the seam allowance to 1/8". Place a pin on the half way line of the bias tape - the seam line marks the other half line. Do the same on the neckline using one of the shoulder seams as a mark, which is where you will want to line up the seam in the bias tape.
6. Pin the unfolded edge of the bias tape the neckline with the fold facing up. If the bias tape is a little small just stretch it to fit evenly. If its too big you'll want to take the bias tape in at the seam as you don't want to stretch the neckline and get a wavy finish.
7. Sew the bias tape to the neckline using a stretch stitch (which looks like a wonky zig zag stitch on my sewing machine) with a 3/8" seam allowance. Be careful not to stretch neckline when your sewing as this makes annoying waves in the fabric that are difficult to undo. Make sure you use a ball point needle and use a longer stitch length if your fabric is super stretchy like mine.
8. Cut away the seam allowance to roughly 1/8". This reduces the bulk around the neckline. If your neckline is very curvy cut a few small triangles in the seam allowance on the most curved bits to make a smooth line being careful not to cut through any stitches.
9. Iron the seam open to get a nice neat finish on the edge of the neckline. Fold the bias tape to the wrong side and pin. Make sure that the fold you made with the iron previously stays folded up. So you should not be able to see any raw edges at this point. The picture below shows the wrong side of the fabric.
10. Sew along the edge of the bias tape as close to the fold as possible, roughly 1/8". Again use the stretch stitch on your sewing machine and a longer stitch if you are having trouble with the fabric stretching as you sew. Use a ball point needle.
 |
| Wrong side |
 |
| Right side |
Voila! That's your neckline finished nice and neatly. Iron lightly to make sure its nice and flat and your done.
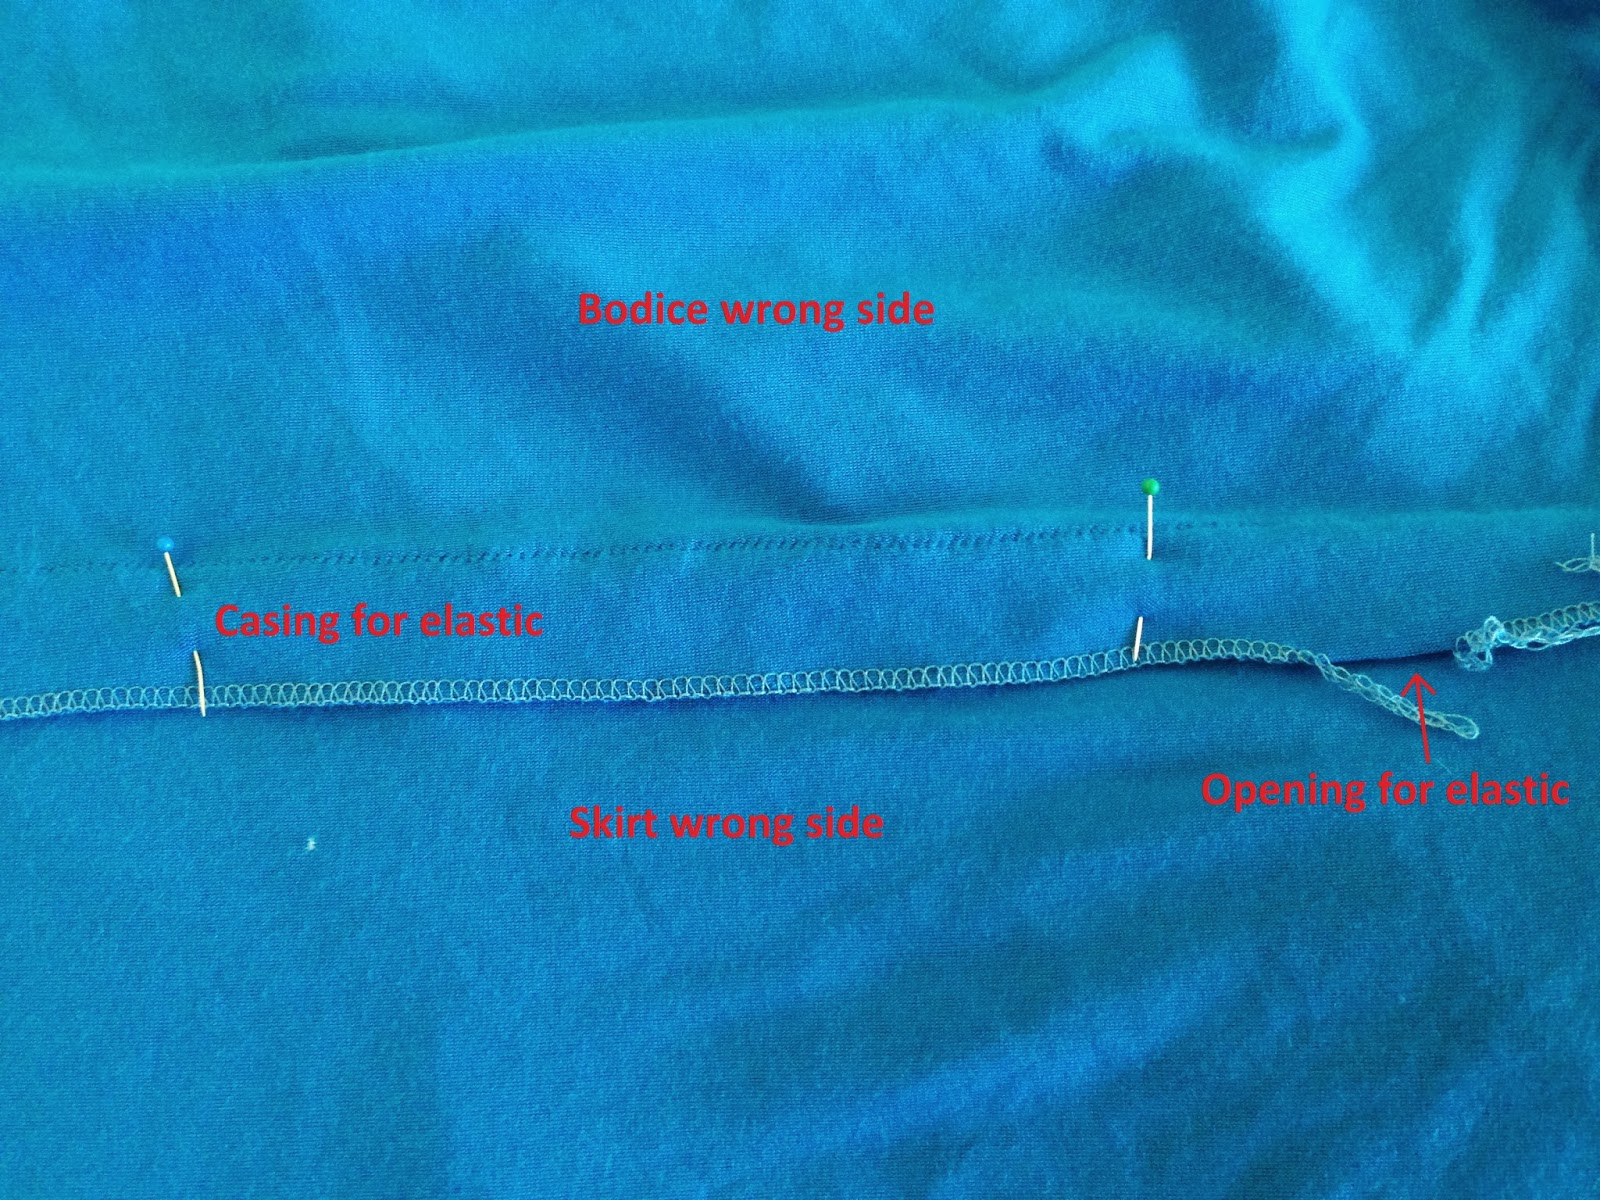
Next step sewing the elastic into the waist and getting top and skirt united into one dress! Stay tuned for my next tutorial!
Questions and comments are always good with me!