Showing posts with label elastic waist. Show all posts

Monday, September 22, 2014

Tutorial: Finished Dolman Dress Finally!!

Finally got around to taking photos of the dolman dress featured in the tutorials. So here's how the final dress looks. Its super comfortable to wear with the elasticated waist, I think its going to be one of my favorite items over winter with boots and leggings.

Here are the links for the tutorial so you can make your own:


Tutorial 5: Let's Finish This Thing - Hem and Sleeve Finished for Dolman Dress

Let me know what you think:


Comments and questions are always appreciated so fire away!!

Tuesday, January 14, 2014

Tutorial 4: Stretch Yourself With a Hideaway Elastic Waist for the Dolman Dress

Time to do away with the easy sew in the elastic and hey presto waist and on to the more beautiful and neat sew in elastic casing waist! I hate the feel of elastic against my skin as you find with most elastic waist dress so I decided to neatly tuck away the elastic in my waist into its own little private casing. Keeps him all wrapped up and warm and stops it from irritating your skin! This is a perfect way to waist our already cut out, sewn and finish necklined (couldn't think of a better way of putting it!) dolman dress. For previous tutorials please click on the appropriate links:
- 3/8" wide elastic
- Sewing machine
- Serger (not essential)
- Matching threads
- Pins
- Measuring tape
- Scissors
-Safety pin

1. Lay out your bodice and skirt waist seam to waist seam and make sure they are roughly the same length, within 1 or 2cm. Turn the bodice so the right side is facing out and turn the skirt so the wrong side is facing out. Then grab a few pins and mark the center of each of the waist seams using said pins. Not an essential step but it makes it easier when matching together the seams.


2. Put the skirt inside the bodice so that the waist seams are together. You should have right side to right side, double check and then pin at the seam.


3.Sewing machine time! Set your machine to a stretch stitch or a plain zig zag if you don't have a stretch setting. As my fabric was very stretchy I lengthened the stitch length a little to make it easier to sew and used a ball point needle. Here are my settings on my Brother sewing machine:


4. Use a 6/8" seam allowance and as you sew make sure you do not stretch or pull the fabric as this will create a wavy seam which is never pretty. If you have the option use a lower tension on the presser foot to allow the fabric to go through the machine a lot easier or use a walking foot.


Finished seam:


5. Sergers at the ready for this step or sewing machine if you don't have a serger. Set up your serger to the right tensions for your fabric, its always better to test on scrap pieces to make sure its right before going ahead and sewing on the dress. Saves the headache of unpicking! Mine was set to the following and I used 3 threads:


If your using a standard sewing machine set it to a long zig zag stitch.

6. Serge or sew along the edge of the seam allowance sewing both edges together to make the casing for the elastic. Leave about an inch gap when you get the end so you have enough space to slide in the elastic.


Finished seam with gap for elastic:


7. Fold the casing down towards the skirt and pin flat. You can iron it at this point to make it a little easier but make sure you use the right heat for your fabric. Ruined many a garment by not thinking about the iron heat!


8. Back to the sewing machine with the same stretch stitch as in step 3. Sew close to the sergered stitches or zig zags to make a channel for the elastic to go through. Leave a few inches at the same place as the opening for the elastic so you have enough give to be able to finish off the serging when the elastic is in place.


9. Measure out your elastic, it should be 1 inch less than your waist measurement plus 6/8" for seam allowance. Pin one end next to the opening of the gap in casing and put a small safety pin through the other end of the elastic.


10. Push the end of the elastic with the safety pin attached into the casing. Then slowly and carefully push the safety pin through by pushing and pulling fabric over the safety pin. I hope that makes sense! Make sure the pin doesn't come undone from the other end of the elastic. Do this until your through to the other side.


11. Once you have the elastic through pin both ends together so they overlap by 3/8".


12. Join the elastic ends together using a zig zag stitch on the sewing machine. I like to sew horizontally first then vertically to close up both ends of the elastic to make it smooth in the casing. To sew the elastic pull it out as much as possible to make it easier.


Settings on my sewing machine.


Pattern on the elastic. Not extremely neat but it does the job and it will be inside the casing so no one will know.


13. Now you should have the elastic completely hidden inside the casing with gaps in the sewed edges. This is mine from the right side:


Serge the casing to finish off that seam and then sew down the remainder of the casing to the skirt.

14. Last thing to do is neaten out the gathered in the wasitline and you should have something that looks like this:

Wrong side

Right side
And that's the waist finished. Here is what my dress looks like so far:


In my next tutorial I will be showing you how to finish off the sleeves and the hem.

Comment and question away!

Thursday, December 12, 2013

Tutorial 1: Pattern for a Super Easy and Comfy Long Sleeved Dolman Dress!

I have been busy making lots of new patterns and items for my shop which will be appearing soon once I have taken some photos and moved house! Had a spare day on my hands so I thought I would make a quick and easy elastic waist dolman dress and show you how i make it. So here goes.....

MATERIALS NEEDED:

- Pencil
- Paper
- Tape for sticking paper together
- Ruler
-Tape measure


Now everything is together lets get started!

PATTERN: TOP

1. Get a pencil and paper ready to take some quick measurements for your dress. You'll need the following measurements:

- Neck to wrist
- Nape of neck to natural waist
- Natural waist
- Wrist circumference
- Natural waist to hem

Once you have all of these your ready to draw a pattern for your dress, which will look something like the following picture:


2. To draw this pattern yourself first draw a straight line for the center fold seam the length of your nape of neck to natural waist (mine was 18.5"). 

3. At the bottom of that line draw a line at 90 degrees for your waist measurement which should be  1/4 of your total waist multiplied by how much gathering you want at the waist I used 1.5 my waist measurement. My calculation was as follows:

Waist: 27"
27/4 = 6.75
6.75 x 1.5 = 10.125 
I rounded this to 10" for my waist measurement. 

4. Once you have those lines draw in the neckline you would like - a good way to do this is to trace a neckline from a top or dress you already have that you like. Remember it will only be half of the neckline. I have a slightly higher neckline for the back of the dress, which I adjust when I cut out the dress later on to save paper. 

5. From the edge of the neckline draw a straight line the length of your neck to wrist measurement at a slight angle. I usually do the angle by eye so just as long as its similar to the picture above it will work out fine! 

6. Draw a 90 degree line from the edge of the end of the sleeve the length of half of your wrist circumference. 

7. Finally draw a curve from the end of the sleeve to the side of the waist. This can be as wide or narrow as you like depending on how much fabric you would like in your dress. 

That's it top of the dress pattern complete now for the skirt..

PATTERN: SKIRT

1. Your pattern should look something like this:


2. Draw a straight line the length of your waist to hem measurement which will be the center front line.

3. At the top of that line draw a line at 90 degrees the length of your waist that you used for the top of the dress.

4. Draw a line parallel to the  center front line - if you prefer you can add a flare to the skirt here. 

5. Draw a slight curve from the center front line to the side of the skirt - this adds some shape to the skirt. 


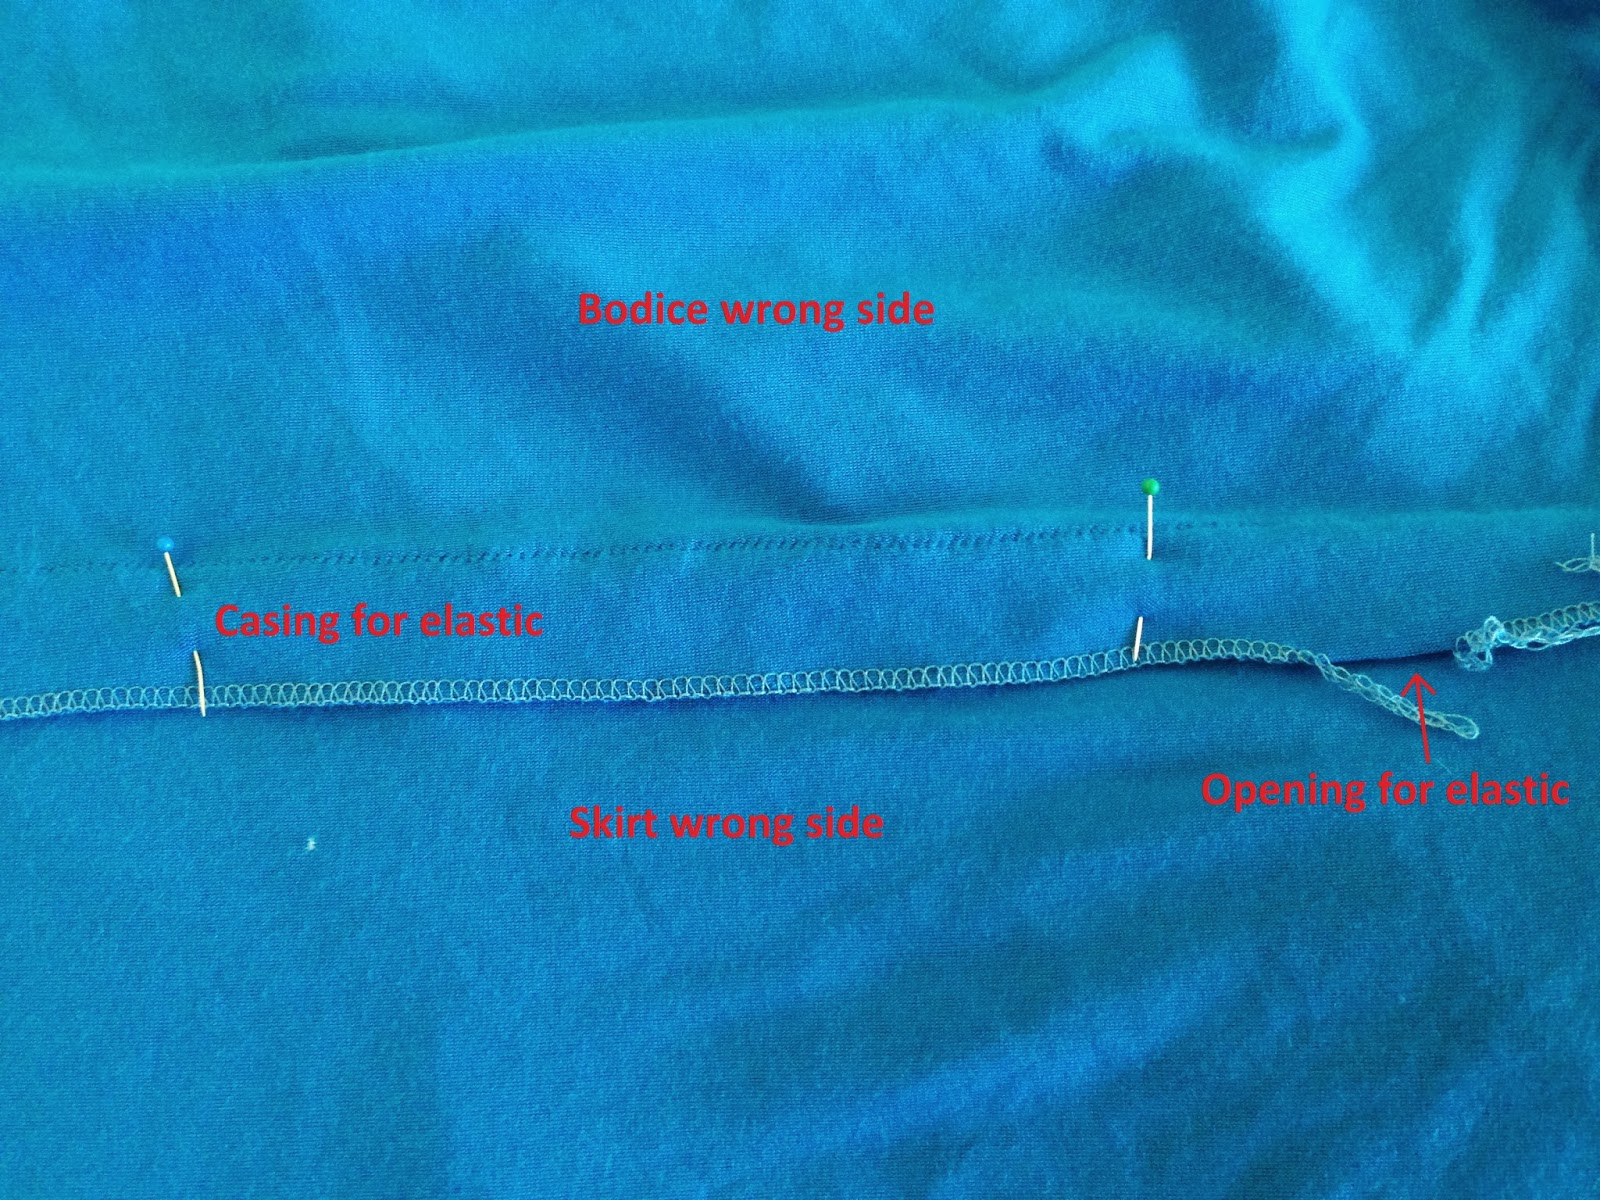
Bosh!! That's it pattern complete for the dress. I'll be posting a tutorial on how to put the dress together ASAP so stay tuned.

Comments and questions welcome so ask away! 


Related Posts Plugin for WordPress, Blogger...