Now to finish it all off with two (three if you count both sleeves!) final pesky raw edges to make beautiful. Then we will have a brand spanking new dolman dress to strut around in. Perfect to throw on for a lazy day but look stylish at the same time how much more do you want!! For previous tutorials check out the links below:
Right lets get on with it!
MATERIALS YOU WILL NEED:
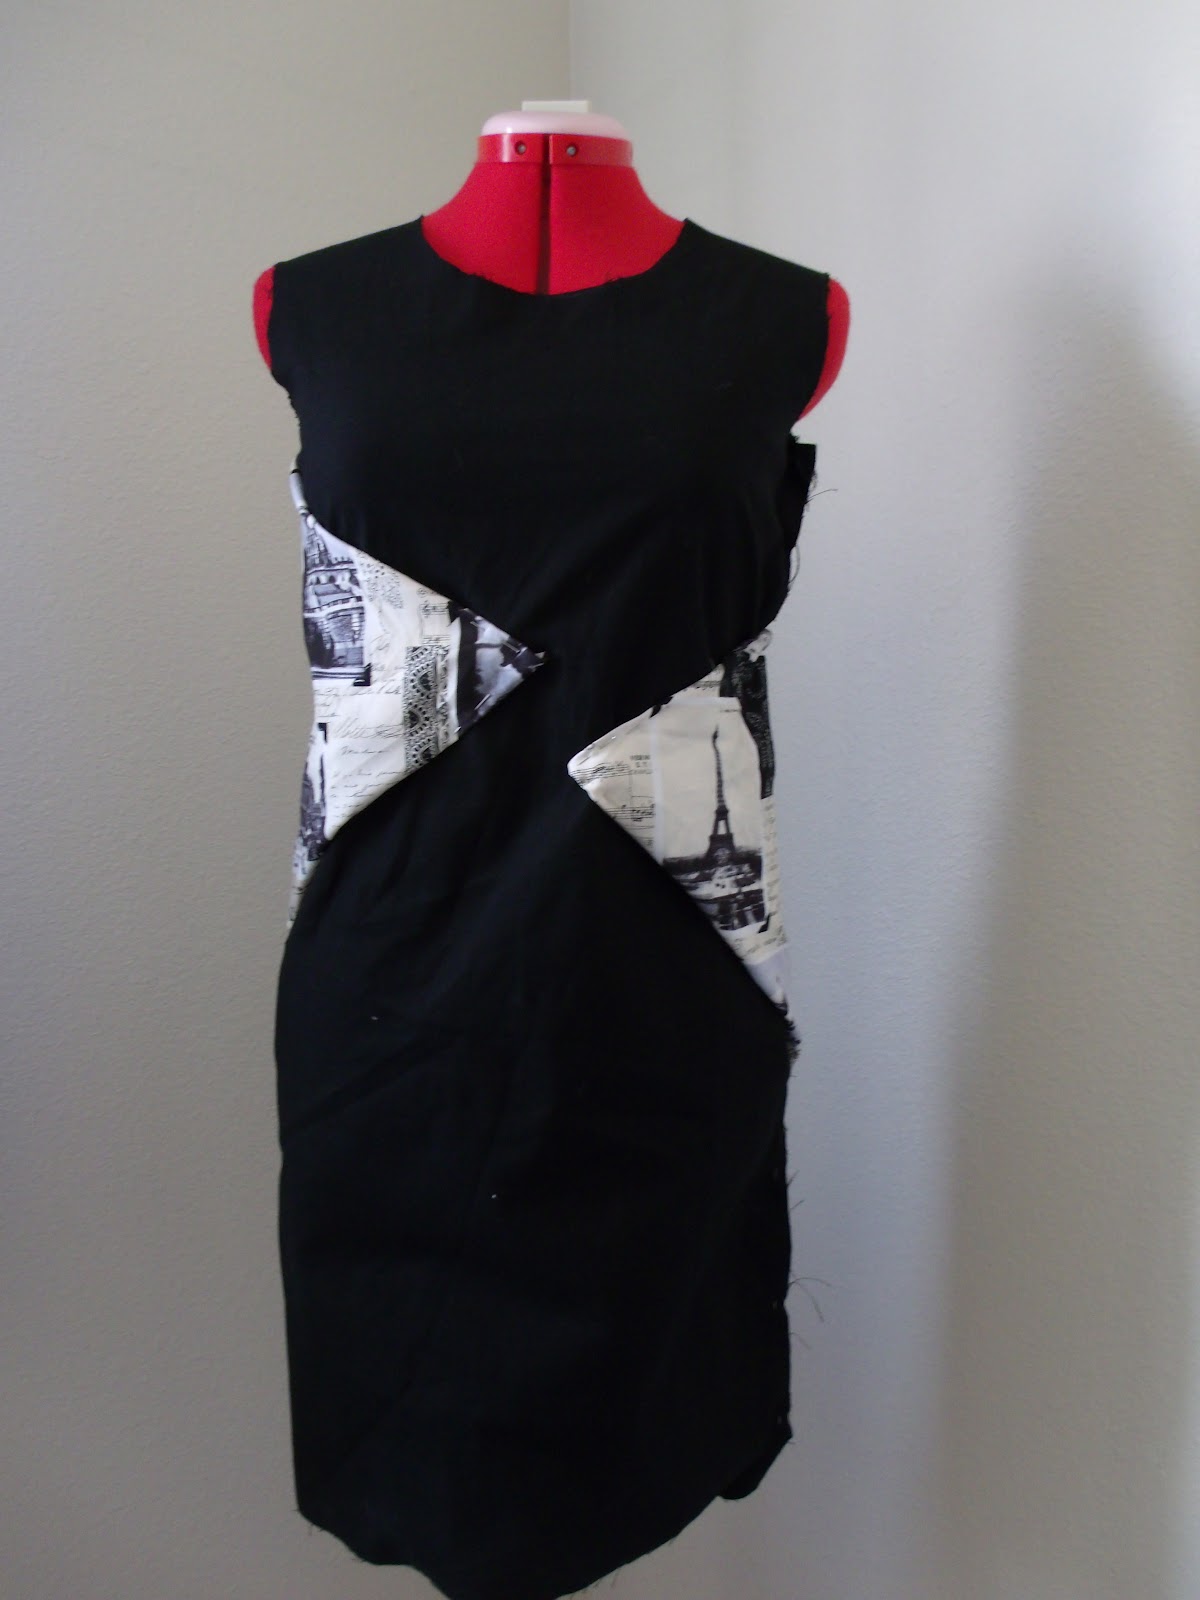
- Nearly finished dolman dress whoop whoop
- Coverstitch machine or normal sewing machine will do the trick
- Iron
- Pins
- Measuring tape
- Matching threads for your machine of choice
- Scissors
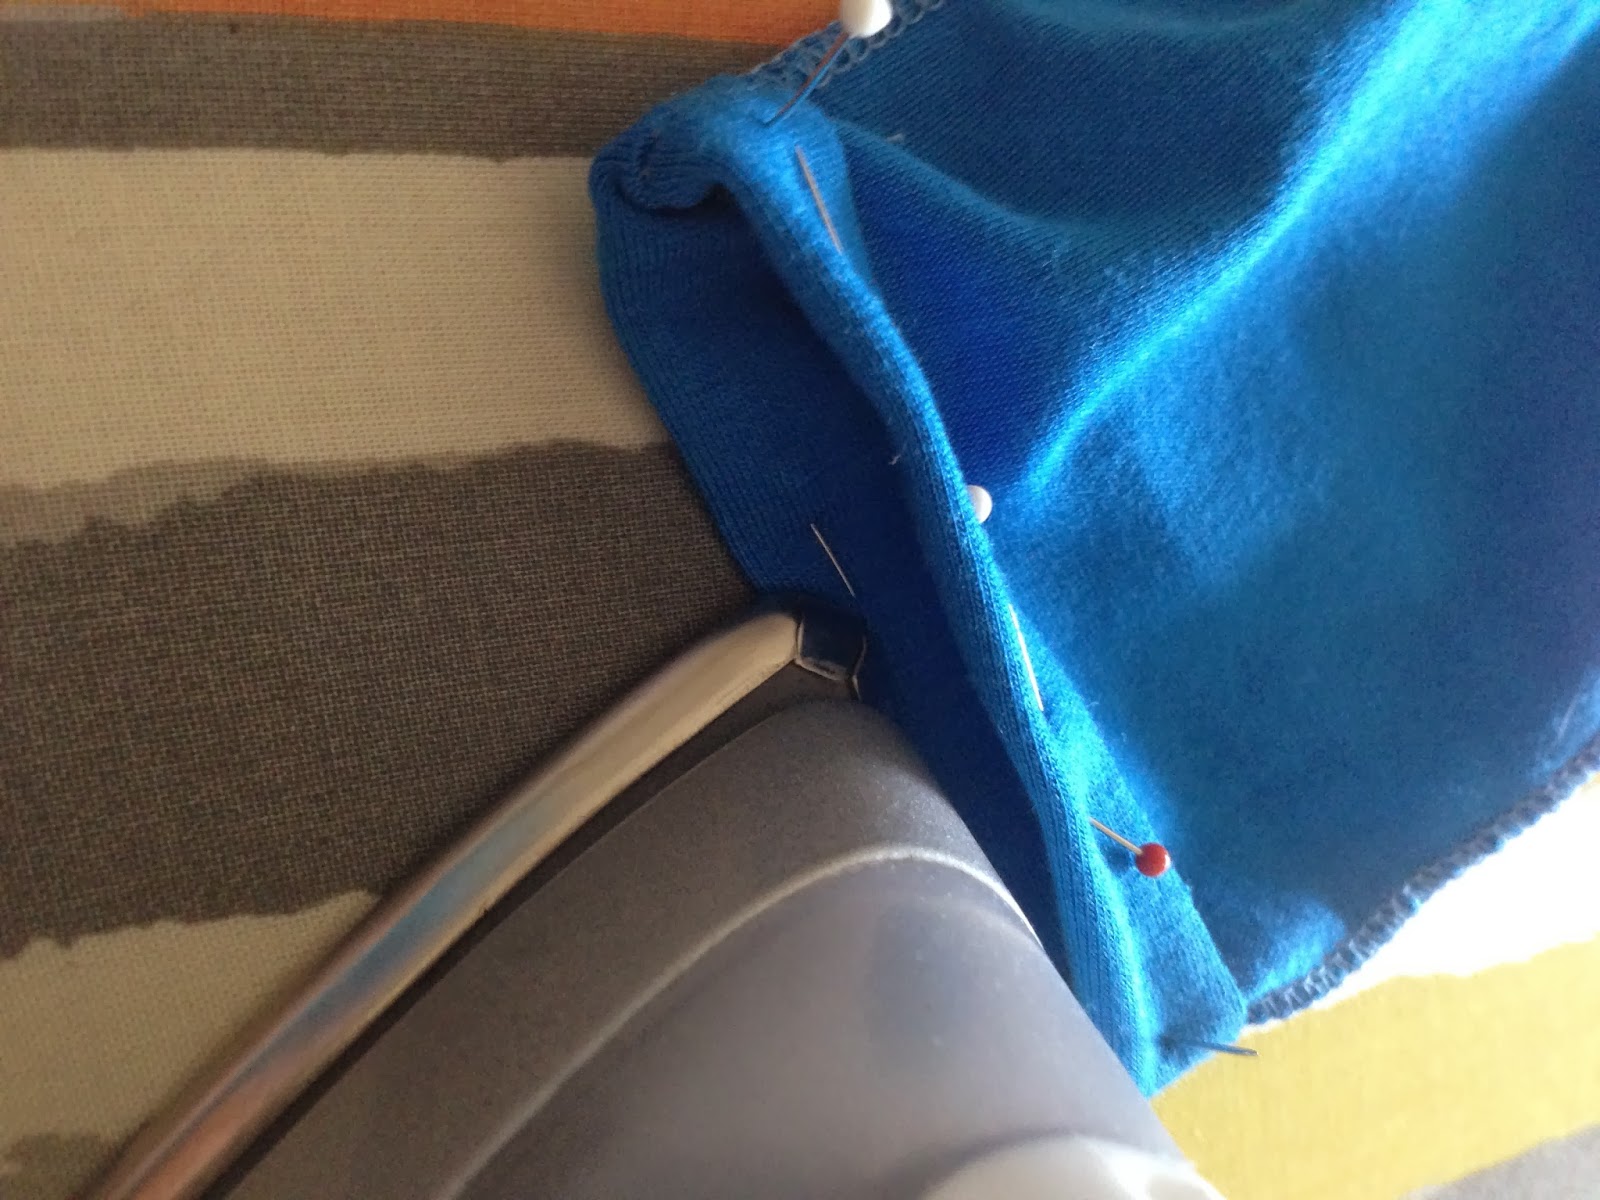
1. Start by roughly folding over the seam allowance on each sleeve we'll perfect it later but this makes it easier to do. Make sure you are folding the raw edge to the wrong side.

2. Grab your tape measure and pins and work around the sleeve getting your seam allowance even. I use a 0.5" seam allowance and will be using my coverstitch machine to finish the edges. You can use whatever seam allowance you feel comfortable with.


3. This step isn't 100% necessary but I like to do it so I get the perfect finish and my seam allowance is completely even. Also if a pin comes out while your sewing you know where your seam allowance should be. Iron on the fold with a semi hot iron to make the fold nice and crisp.
4. I use a coverstitch machine to finish my raw edges and here are my setting on the Brother machine.

If you don't have a coverstitch machine you can use a regular sewing machine with a twin needle attached to get the same finish. Some tips for a twin needle: use a stretch needle, lengthen your stitch and loosen your stitch tension if you get tunneling.
My finished sleeved looks like this:

5. On to the hem. It is exactly the same steps as the sleeves but it is a little less fiddly. Roughly fold the hem over to the wrong side and then go around with your tape measure and even it out. Pin as you go.

6. Iron the edge just like you did with the sleeves and then your ready to hit the sewing machine.

7. Sew using your coverstitch or regular sewing machine and you should end up with a little something like this:

And that's a rap! Dress complete time for photos to show you lovely people the finished product.
Stay tuned for the completed dress photos and feel free to ask questions or comment.